Lissa Anglin • Part of Me Blog

Art, décor, family and photography- it's all part of me!

Cricut

major front porch glow up!

AnglinAbode, DIY, HOME + LIFESTYLElissa-anglin1 Comment
IMG_0286-2.jpg

My front porch space has received basically all my love and attention since the weather’s warmed up. It’s essentially my new living room and I have loved sitting here to read, pray, and watch kids play. I’ve been wanting to cozy it up and when I realized that Cricut made pillow covers, I knew I wanted to create some custom pillows for this space.

First, let’s talk about what the patio looked like before:

2021-04-10 16.38.15 HDR.jpg

Pretty blah. The 14’ pew bench came with the house when we bought it (score!), and the metal “A” sign is one we’ve had- Shawn hung it up for me not long ago. But there was a LOT I wanted to do to this space.

First, I tackled the door. It was brown and beat up. We’d already replaced the decorative frosted glass with more modern rain glass, but I wanted to add a pop of color and change out the handle. So that’s what we did! I painted it the same color as our kitchen island- Relentless Olive from Sherwin Williams- and we switched out the gold curved handle for a more modern black one.

My favorite hint for painting any type of wood (or even faux wood)- use deglosser! Saves you hours of sanding and allows the new paint to adhere perfectly!

LissaAnglin_PartofMeBlog_0088.jpg

Once the door was done, I set my sights on the church pew. It was in ok condition- but was cracking in some spots and I suspect someone tried to stain it at some point and didn’t do a great job- it was super uneven. The easiest thing would have been to paint it, but I wanted to keep it a wood tone, so I started sanding.

You can see how the pew really needed some love here. I wanted to lighten it up so it didn’t blend in with the brick as much, so that is the reason I decided to sand!

You can see how the pew really needed some love here. I wanted to lighten it up so it didn’t blend in with the brick as much, so that is the reason I decided to sand!

2021-06-17 07.42.02.jpg

It took me a couple of days to sand all 14 feet of it, but it was worth it. Once sanded, I wiped straight-up cheap bleach on it to lighten the overall color. I ended up doing this about 3 times and it worked beautifully. My Vintage Porch has a great tutorial on this that was very helpful.

Once everything was sanded, I used some wood filler to repair some of the cracks in the wood. This is my favorite kind to use because the color changes letting you know it is dry.

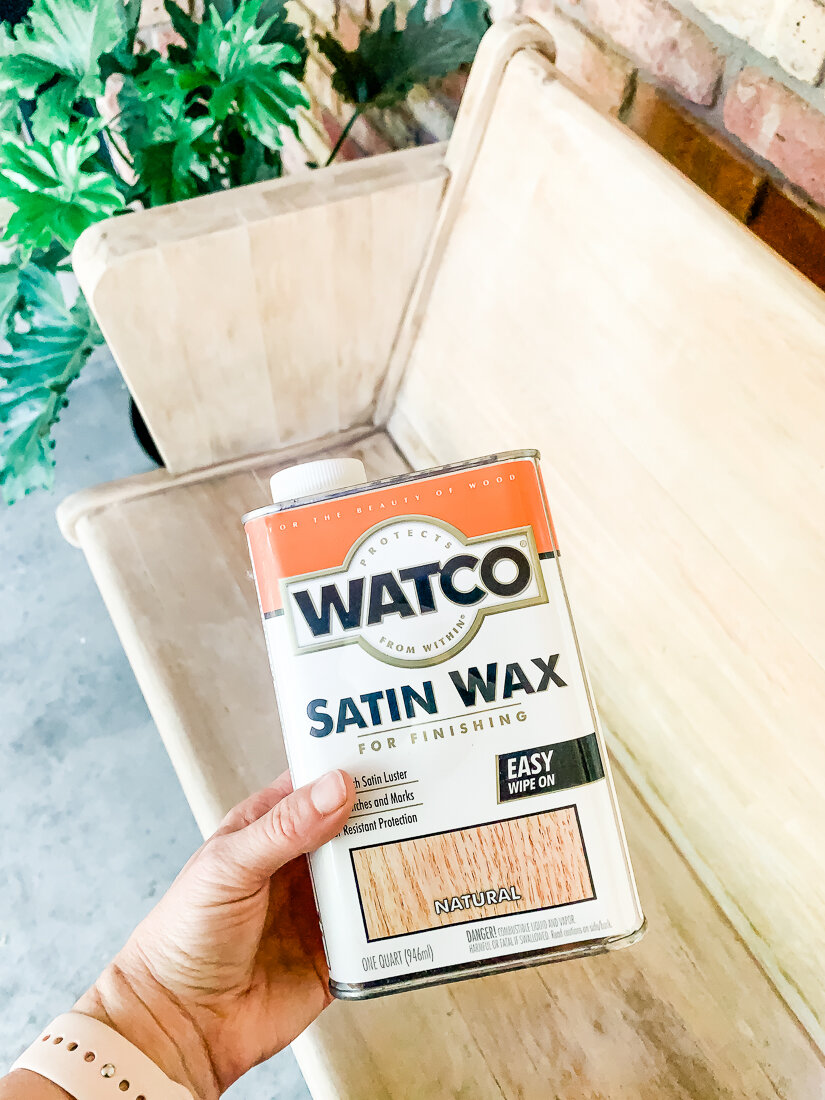
After bleaching, I coated it with Watco Satin Wax to give it a little protection. I wanted to keep the light look but also protect the wood I had just worked so hard to uncover. This did the trick! Once it went on, it did darken the wood a bit, and I panicked, but then it lightened again as it dried.

2021-06-17 09.01.03.jpg

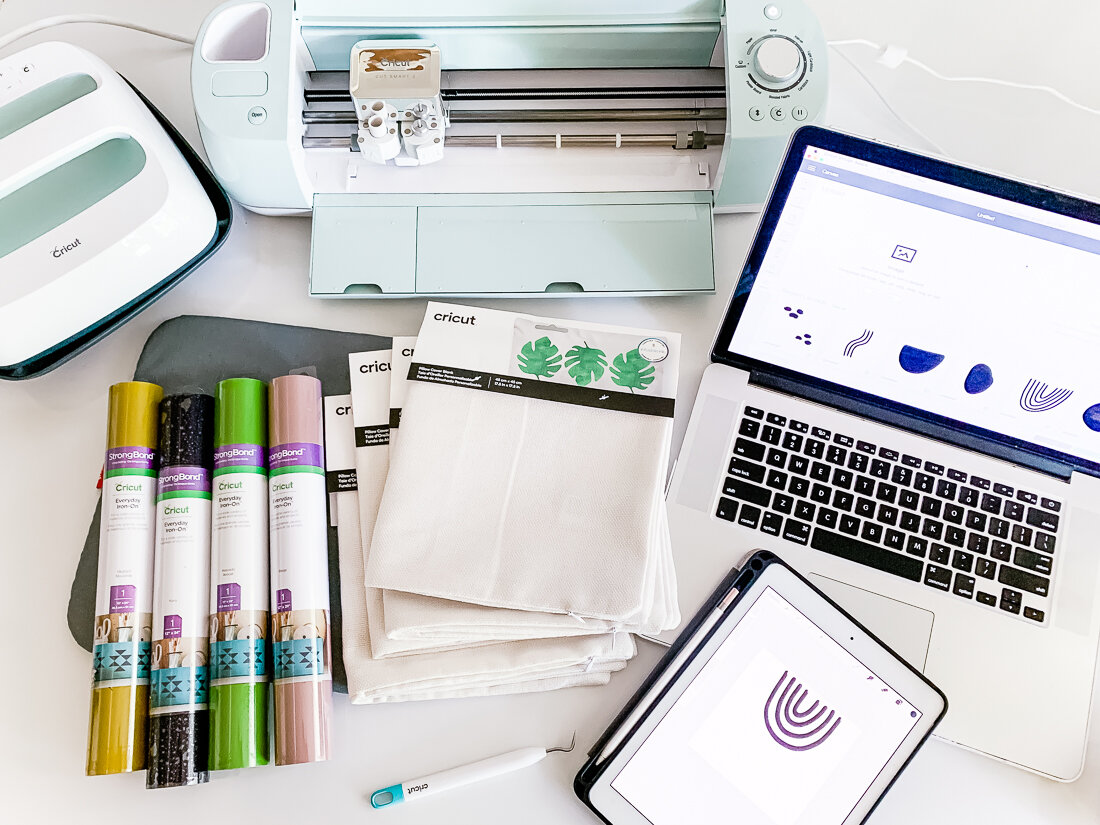
Now for the fun decorative stuff! I made the pillows using my Cricut Explore Air2 and Cricut Easy Press. Their heat press products and tools are so much fun. I ordered basically everything from Cricut and here is a list of the products I used:

Cricut Explore Air 2

Cricut Easy Press + Easy Press Mat

Cricut Everyday Iron-On (I used beige, avocado, black and mustard for these pillows)

Cricut Pillow Covers

Cricut Weeding Tools

I drew all the doodles and shapes on my iPad, then uploaded them to Cricut Design Space. From there, I made 4 different compositions for 4 pillows, and cut them on the 4 different colors. A few of my design elements were too large to be cut on my 12x12 mat, so I had to slice them and cut them in sections, then put them back together when it was time to heat press them.

I’ve uploaded my design file to the Cricut Design Space Here, and you can use it for free!

IMG_0306.jpg

Organic Shapes Collage Pillows

FREE Cricut Design Space filed linked here!

Then, it was collage time!

All my shapes are weeded and it’s time to start collaging them onto the pillow covers using my Easy Press!

All my shapes are weeded and it’s time to start collaging them onto the pillow covers using my Easy Press!

The Easy Press makes it really simple to adhere the Iron-On to the fabric. You just set your temperature and time, push the “C” button, and it times it all for you.

I adhered the bottom layer first and then added additional layers, being sure to keep all Iron-On Material covered with the transfer film (even if it was already adhered) under the Easy Press (or else it would melt!).

I was really pleased with how these turned out and love the quality of the Cricut Pillow Covers. They are perfect for my patio space.

IMG_0303-2.jpg

Lastly, I found a cute little metal coffee table (it was already pink, and I was great with that!) on Facebook Marketplace and pulled out a few pillows and a Mexican blanket I already had.

I had purchased this floor runner for our kitchen and ended up not liking it, but it worked perfectly folded hot-dog style on our bench as a pseudo-cushion! Here’s the final reveal:

IMG_0322.jpg
IMG_0327.jpg
IMG_0302.jpg

I’m so thankful for this space. I never set out to have a matching set of anything- but I do my best to buy and create things that I love- which, it turns out, kind of all go together.

It’s been a collection of little projects that make a big impact on my attitude- I love sitting here and just enjoying every little thing- and I have big intentions for the conversations, wine nights, and prayer times to be had here.
perking up my coffee bar with my cricut!

CRAFTS, DIYlissa-anglinComment

This post is sponsored by the awesome people at Cricut, who give me the freedom to create the projects I want to do, and the ability to do them well with all their amazing products.


CoffeeBar-6000.jpg

See what I did with that title?! You guys know I love a good pun.

I’ve finally finished decorating the new coffee bar area in our home- for now, anyway. :) And I couldn’t resist creating some customized coffee canisters and flavoring syrup bottles for it! To see some crazy before + afters, check out my previous post for the before + afters of this part of our #anglinabode reno.

CoffeeBar-5935-Edit.jpg

I wanted it to be an area I loved to look at and spend time in, but also highly functional as well. We do a LOT of coffee here, but we also have an ice machine and like to make fun sodas. The syrup flavorings we use for these are delicious, but I didn’t love them cluttering the countertop.

So, I was so excited when I found these inexpensive olive oil bottles at WalMart. To up the ante, I also ordered these super cool weighted spouts in a gold color.

I also wanted to pull in some gold accents to match our knobs and fixtures, so I was pumped to find these gold and clear canisters (which come in a bunch of different colors too!). They look like glass and metal, but are plastic- which is honestly much better for this clumsy crew. I also added these really cool coffee scoops to put inside the canister that also function as a bag clip.

This is a pretty simple cut and stick project, so I’ll just fill you in on all the details!

Here’s what I used for this project:

IMG_4871.jpg

Cricut Joy

Cricut Transfer Tape

Cricut Permanent Vinyl

Scraper and Weeder Tools

Cricut Joy mat (optional)

Gold Canisters

Coffee Scoops

Olive Oil Bottles

Gold Weighted Spouts

I used the font Hanley that I purchased from Creative Market. This is one of my most-used fonts and has been a great purchase for me!

I was sure to keep my font size the same throughout all of the labels. This keeps the overall look consistent and professional. Be sure to double check your measurements and make sure the longest word will still fit in the space given the font size. I alllllmost didn’t get the word “peppermint” to fit!

Here’s a quick video of the process:

Pinterest1.png

I really love the way they turned out! I’d love to see your coffee bar projects, too- be sure to tag me @lissaanglin on any social media!

This post contains affiliate links, on which I will receive a small commission should you purchase anything/sign up/subscribe etc. I would never share something I didn’t actually like or want to share with you, so I wanted to let you know. Sharing affiliate links affords me a few more lattes and it’s always my aim to add value to your life with the brands and products I share. Thanks for supporting me!

5 reasons a cricut makes a great gift

CRAFTSlissa-anglinComment
IMG_7651.JPG

I KNOW that a Cricut machine is on more than a few of my friends’ gift lists this year- and if that’s you- this post is not for you. :)

BUT- if you are one of those friends’ spouses or family or really wonderful friends- or you’re on the fence about whether or not you want to buy a Cricut- this post is for YOU!

I couldn’t understand what all the rage over Cricut was about when I first heard about them- was it just to cut out shapes or what? And then I started going down the YouTube Cricut craft video hole (I actually have a few here if you want to check them out!), and I was sold.

And now, I own the Cricut Air 2, Cricut Joy, and quite a few other Cricut products….let’s just say my craft closet could just be called my Cricut closet. :)

So- because I love a good list- here are my top 5 reasons a Cricut machine makes a great gift.

CricutGiftList2.png
  1. You’ll use it for more than you think. At first I thought a Cricut machine was just for cutting out things and making little cards, etc.- which it is, BUT THEN I realized I can make all sorts of amazing things with vinyl- signs and gifts, tshirts and home decor- you name it- you can probably make it with a Cricut. It can also cut a huge variety of materials including chipboard, acetate and even leather! Hellooooo cute leather earrings!

  2. The software is super intuitive. If you’re intimidated by the computer/technology part, don’t be. The software itself is very intuitive and there are many tutorials online where you can learn. Plus, the Cricut design space offers lots of free fonts and design elements that help you put together the perfect project.

  3. It makes everything more special. I don’t know about you, but I LOVE a gift that has been customized. Seeing my name (since it’s not very common) on something just makes it that much more special, and you can personalize EVERYTHING with a Cricut.

  4. Very user-friendly. Did you know Cricut has a phone app? This means you don’t even need a computer to use it! I keep my Cricut Joy on my desk because it’s small and compact, and it connects via bluetooth so literally all I have to do is open it and start cutting!

  5. It’s just fun! Let’s be honest- if you are a maker of any sort, you do it because it’s just fun. I consistently go back to Cricut projects because it so easy to make a quick, good-looking product that I enjoy creating.

Cricut regularly has specials on their new bundles and is consistently releasing really cool new products for different applications.

If I were just getting started, here’s what I would get:

Cricut Explore Air 2 Bundle

This bundle is going to get you started on all the basics. It can cut up to a 12 inches wide and a 100 different materials!


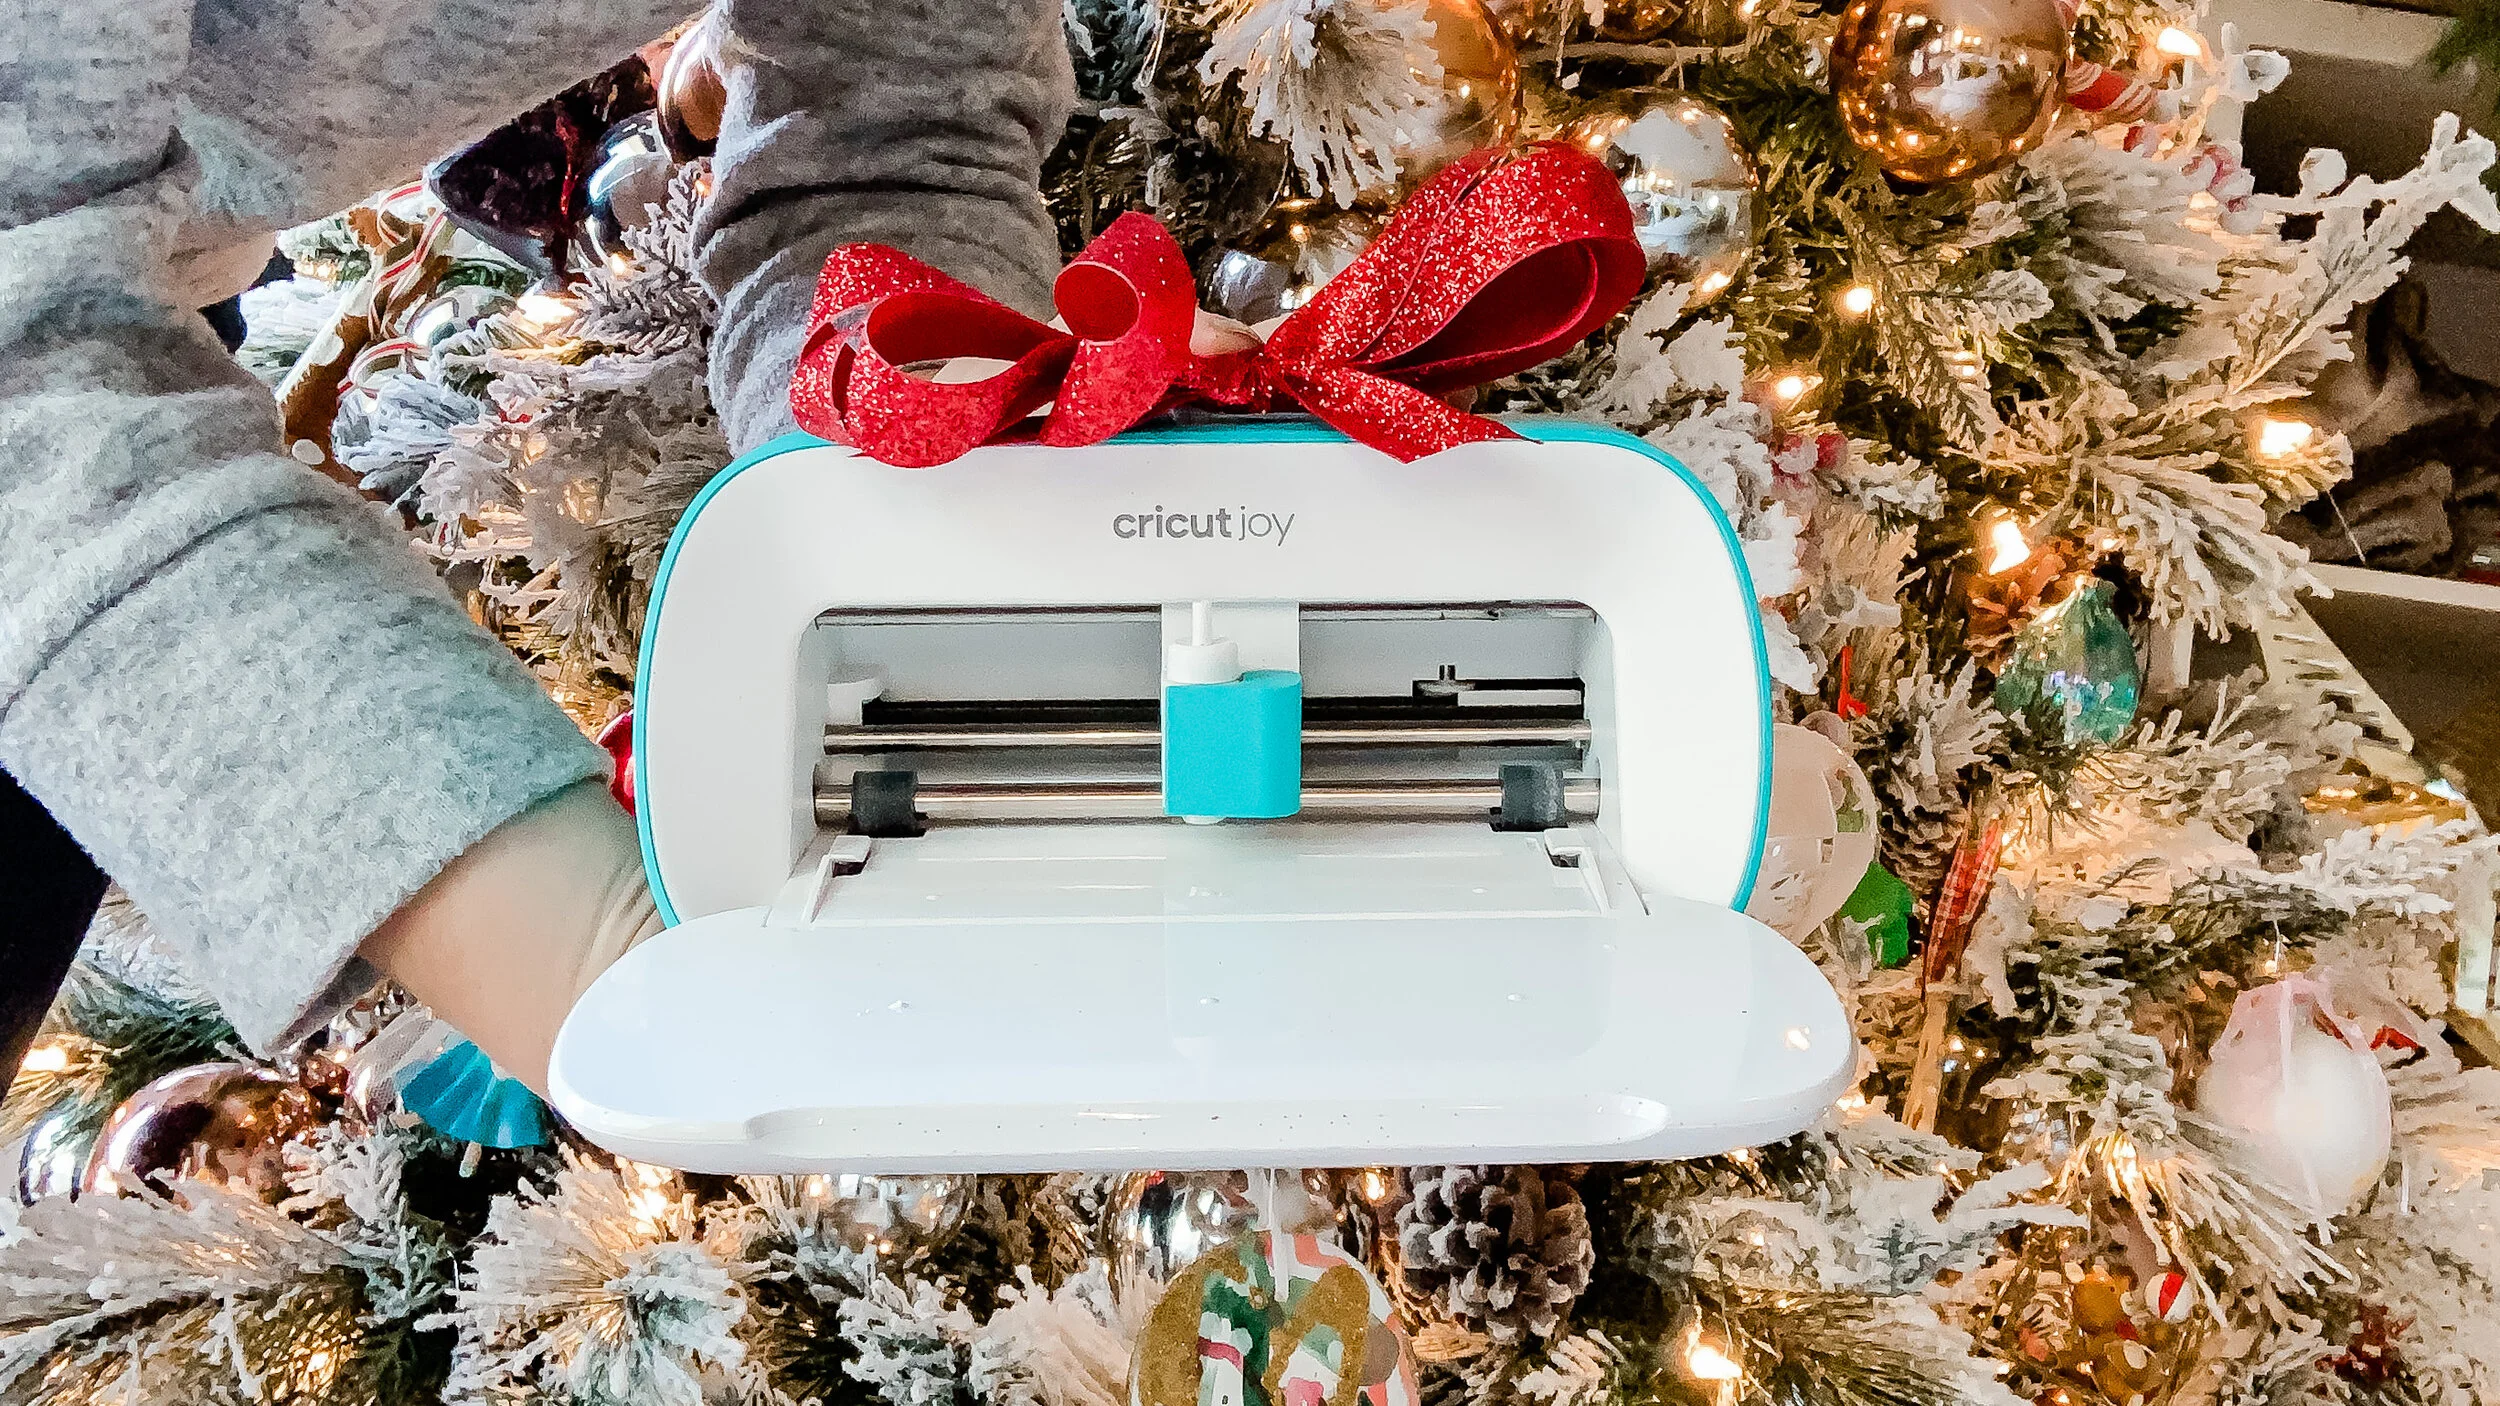
If you’re looking for something a little more compact, the Cricut Joy has become one of my go-tos! I use it more often than my Air 2 because it is just so covenient!

Cricut Joy

This little guy is perfect for quick, smaller projects like labels, stickers and cards. I have found SO many uses for it! Plus, it’s small and can easily have it’s home on a desk without taking up too much space. At a lower price point than the Explore, it’s a great starter machine.

Don’t forget to grab some:

Vinyl

Accessory Tools (worth it, I promise)

Transfer Tape

Cutting Mat

or just grab this great bundle of accessories!

This post contains affiliate links, which means I earn a small commission when you use my links to shop! Those little commissions add up to more fun content created here for you- which I sooooo appreciate.