Lissa Anglin • Part of Me Blog

Art, décor, family and photography- it's all part of me!

vintage eclectic design

major front porch glow up!

AnglinAbode, DIY, HOME + LIFESTYLElissa-anglin1 Comment
IMG_0286-2.jpg

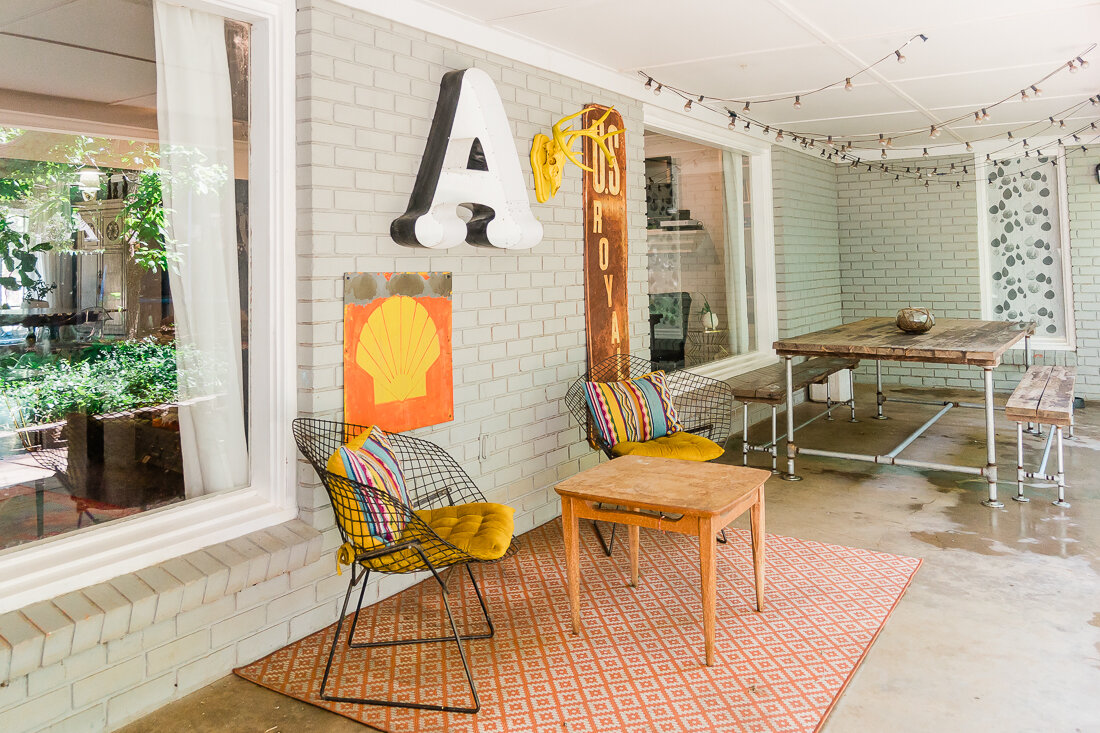
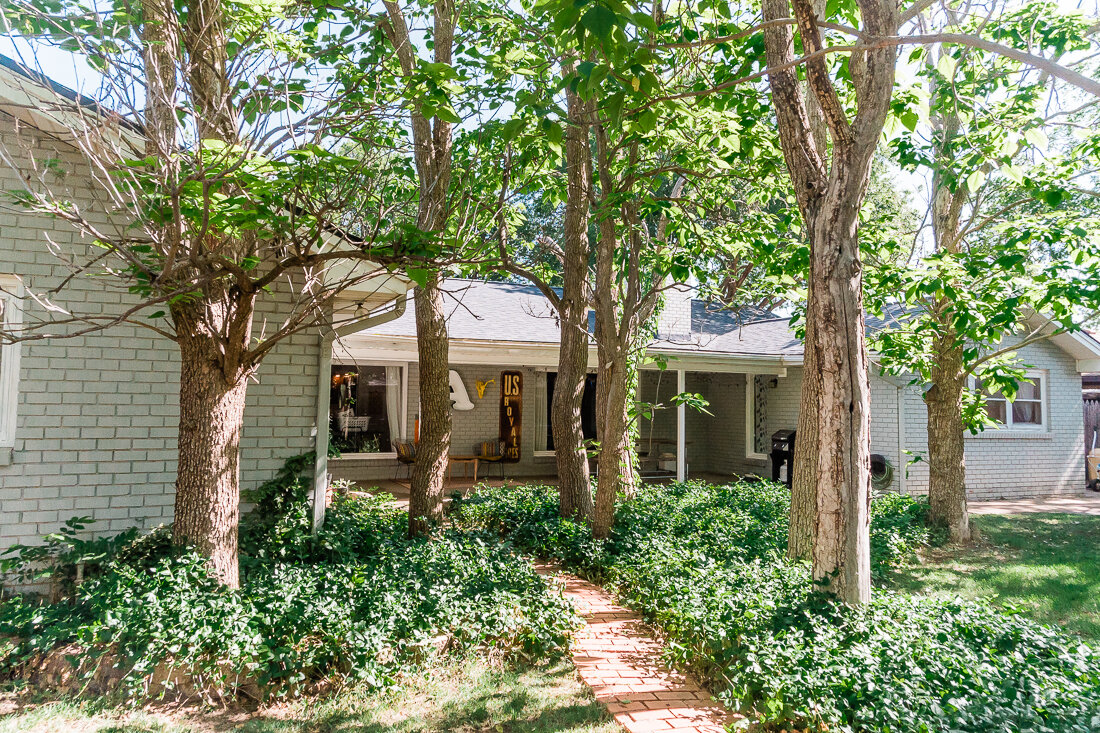
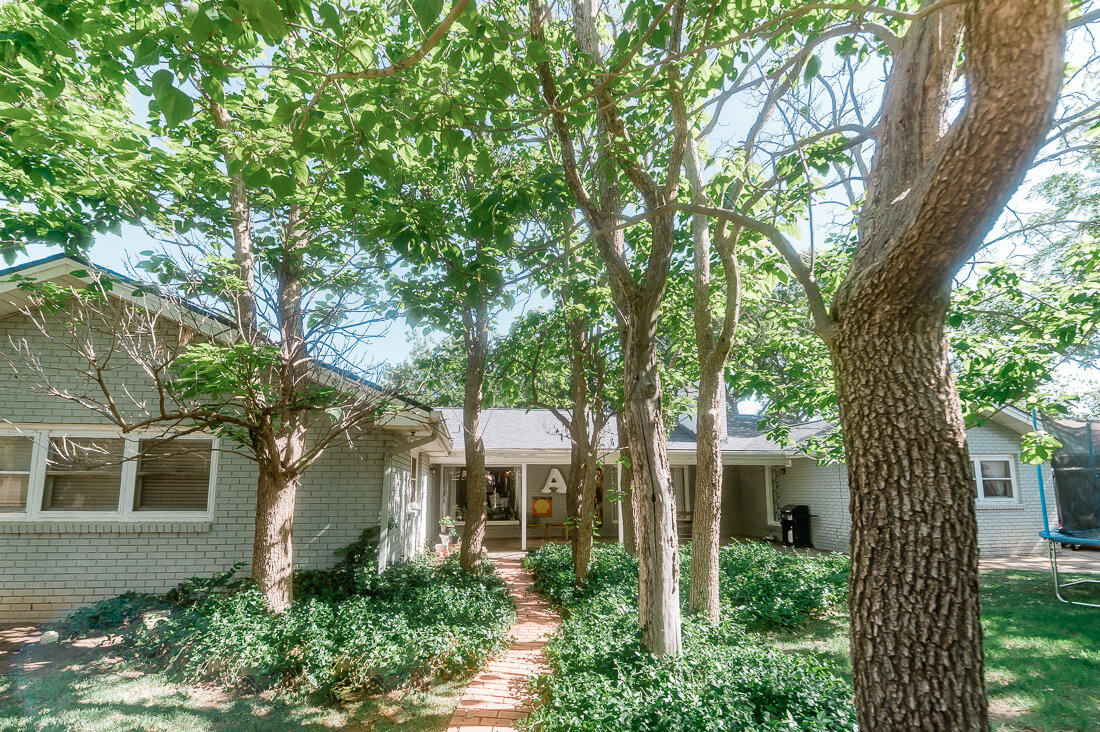
My front porch space has received basically all my love and attention since the weather’s warmed up. It’s essentially my new living room and I have loved sitting here to read, pray, and watch kids play. I’ve been wanting to cozy it up and when I realized that Cricut made pillow covers, I knew I wanted to create some custom pillows for this space.

First, let’s talk about what the patio looked like before:

2021-04-10 16.38.15 HDR.jpg

Pretty blah. The 14’ pew bench came with the house when we bought it (score!), and the metal “A” sign is one we’ve had- Shawn hung it up for me not long ago. But there was a LOT I wanted to do to this space.

First, I tackled the door. It was brown and beat up. We’d already replaced the decorative frosted glass with more modern rain glass, but I wanted to add a pop of color and change out the handle. So that’s what we did! I painted it the same color as our kitchen island- Relentless Olive from Sherwin Williams- and we switched out the gold curved handle for a more modern black one.

My favorite hint for painting any type of wood (or even faux wood)- use deglosser! Saves you hours of sanding and allows the new paint to adhere perfectly!

LissaAnglin_PartofMeBlog_0088.jpg

Once the door was done, I set my sights on the church pew. It was in ok condition- but was cracking in some spots and I suspect someone tried to stain it at some point and didn’t do a great job- it was super uneven. The easiest thing would have been to paint it, but I wanted to keep it a wood tone, so I started sanding.

You can see how the pew really needed some love here. I wanted to lighten it up so it didn’t blend in with the brick as much, so that is the reason I decided to sand!

You can see how the pew really needed some love here. I wanted to lighten it up so it didn’t blend in with the brick as much, so that is the reason I decided to sand!

2021-06-17 07.42.02.jpg

It took me a couple of days to sand all 14 feet of it, but it was worth it. Once sanded, I wiped straight-up cheap bleach on it to lighten the overall color. I ended up doing this about 3 times and it worked beautifully. My Vintage Porch has a great tutorial on this that was very helpful.

Once everything was sanded, I used some wood filler to repair some of the cracks in the wood. This is my favorite kind to use because the color changes letting you know it is dry.

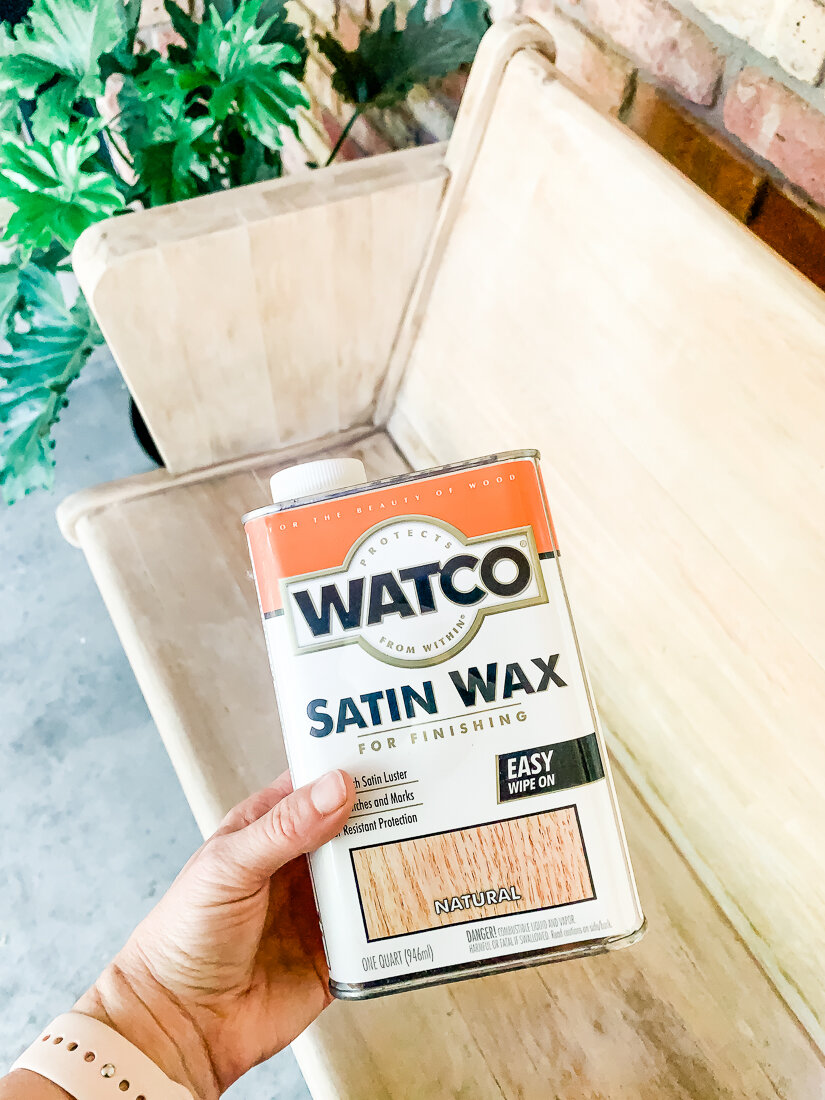
After bleaching, I coated it with Watco Satin Wax to give it a little protection. I wanted to keep the light look but also protect the wood I had just worked so hard to uncover. This did the trick! Once it went on, it did darken the wood a bit, and I panicked, but then it lightened again as it dried.

2021-06-17 09.01.03.jpg

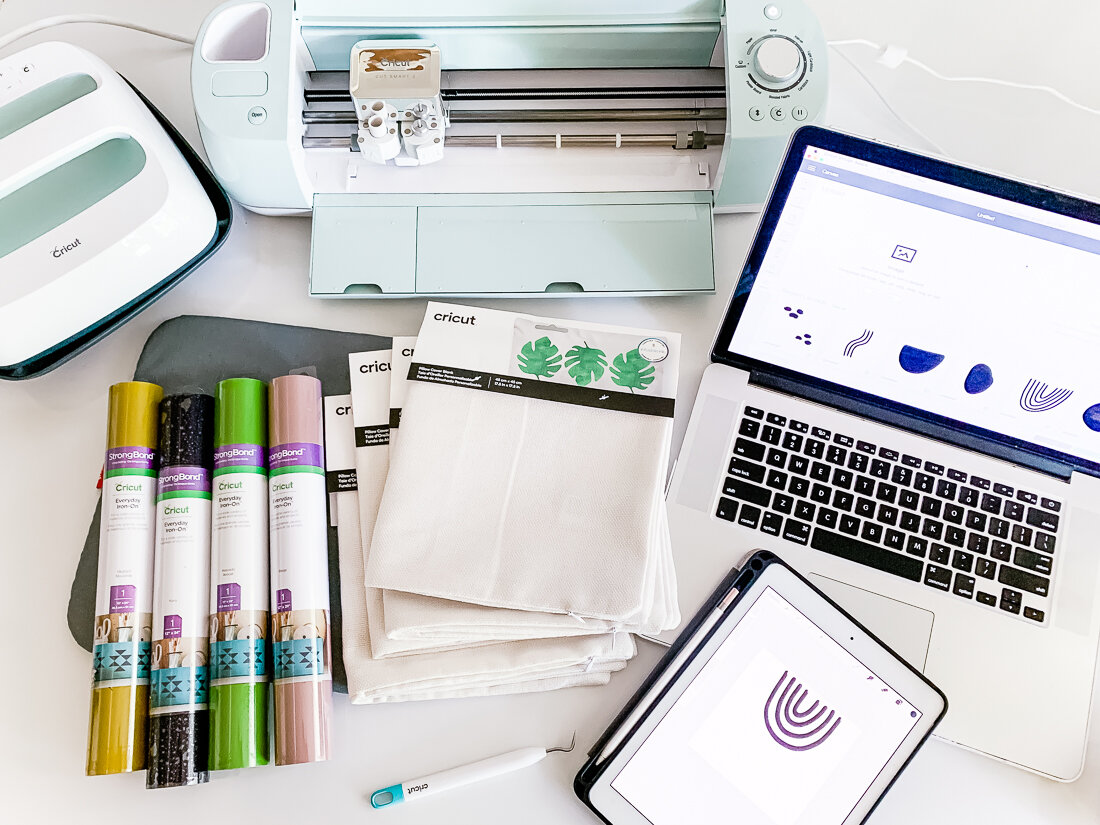
Now for the fun decorative stuff! I made the pillows using my Cricut Explore Air2 and Cricut Easy Press. Their heat press products and tools are so much fun. I ordered basically everything from Cricut and here is a list of the products I used:

Cricut Explore Air 2

Cricut Easy Press + Easy Press Mat

Cricut Everyday Iron-On (I used beige, avocado, black and mustard for these pillows)

Cricut Pillow Covers

Cricut Weeding Tools

I drew all the doodles and shapes on my iPad, then uploaded them to Cricut Design Space. From there, I made 4 different compositions for 4 pillows, and cut them on the 4 different colors. A few of my design elements were too large to be cut on my 12x12 mat, so I had to slice them and cut them in sections, then put them back together when it was time to heat press them.

I’ve uploaded my design file to the Cricut Design Space Here, and you can use it for free!

IMG_0306.jpg

Organic Shapes Collage Pillows

FREE Cricut Design Space filed linked here!

Then, it was collage time!

All my shapes are weeded and it’s time to start collaging them onto the pillow covers using my Easy Press!

All my shapes are weeded and it’s time to start collaging them onto the pillow covers using my Easy Press!

The Easy Press makes it really simple to adhere the Iron-On to the fabric. You just set your temperature and time, push the “C” button, and it times it all for you.

I adhered the bottom layer first and then added additional layers, being sure to keep all Iron-On Material covered with the transfer film (even if it was already adhered) under the Easy Press (or else it would melt!).

I was really pleased with how these turned out and love the quality of the Cricut Pillow Covers. They are perfect for my patio space.

IMG_0303-2.jpg

Lastly, I found a cute little metal coffee table (it was already pink, and I was great with that!) on Facebook Marketplace and pulled out a few pillows and a Mexican blanket I already had.

I had purchased this floor runner for our kitchen and ended up not liking it, but it worked perfectly folded hot-dog style on our bench as a pseudo-cushion! Here’s the final reveal:

IMG_0322.jpg
IMG_0327.jpg
IMG_0302.jpg

I’m so thankful for this space. I never set out to have a matching set of anything- but I do my best to buy and create things that I love- which, it turns out, kind of all go together.

It’s been a collection of little projects that make a big impact on my attitude- I love sitting here and just enjoying every little thing- and I have big intentions for the conversations, wine nights, and prayer times to be had here.

my best staging tips when selling your home

HOME, LIFESTYLElissa-anglin1 Comment
DSC_1104.jpg

If you’ve been following along on Instagram, you know we are moving houses! We have loved our current home for 6 years, and a lot has changed since we moved in- like adding 2 more people to our family and somehow accumulating a LOT more stuff.

We aren’t leaving Lubbock, just moving neighborhoods. Many weeks ago, our Realtor and friend, Jim Archer (who we highly recommend!) knew our desire to find an older home to fix up, and called us about a home he’d found in one of our favorite Lubbock neighborhoods. So, we went to see it, and hated it. But then- plot twist- we ended up buying it! I can’t wait to share more about that, but this post is dedicated to STAGING.

Once we knew we were buying the new house for sure, the scramble to stage our current home began.

Here’s what we did to prep our home to be put on the market:

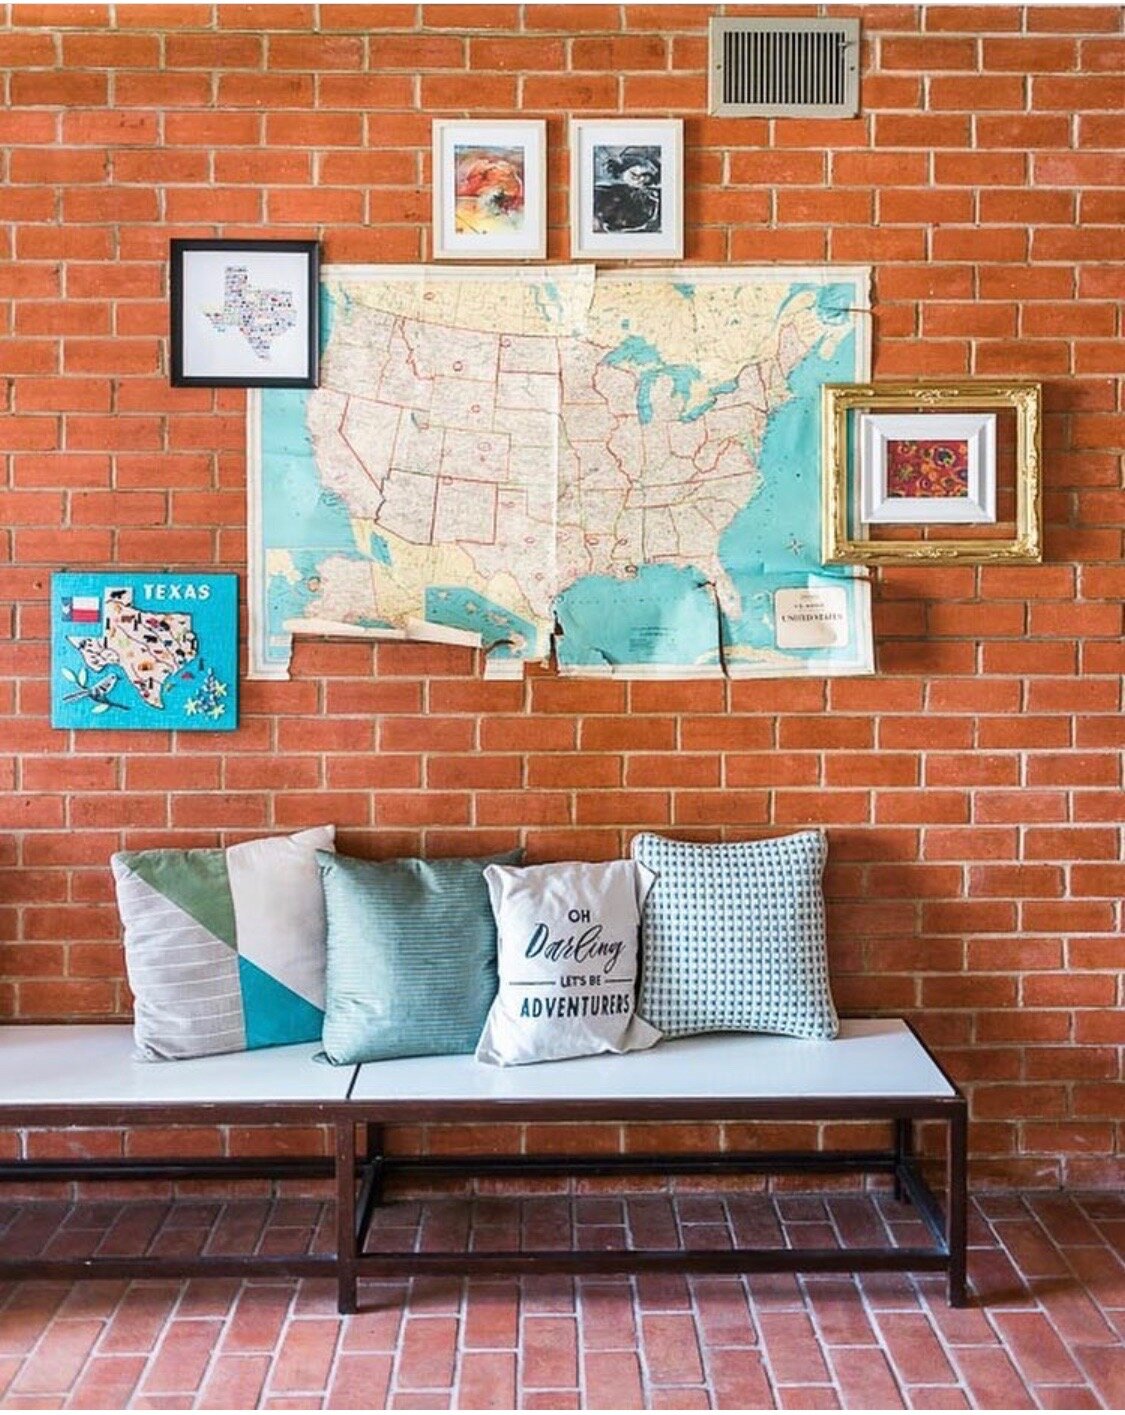
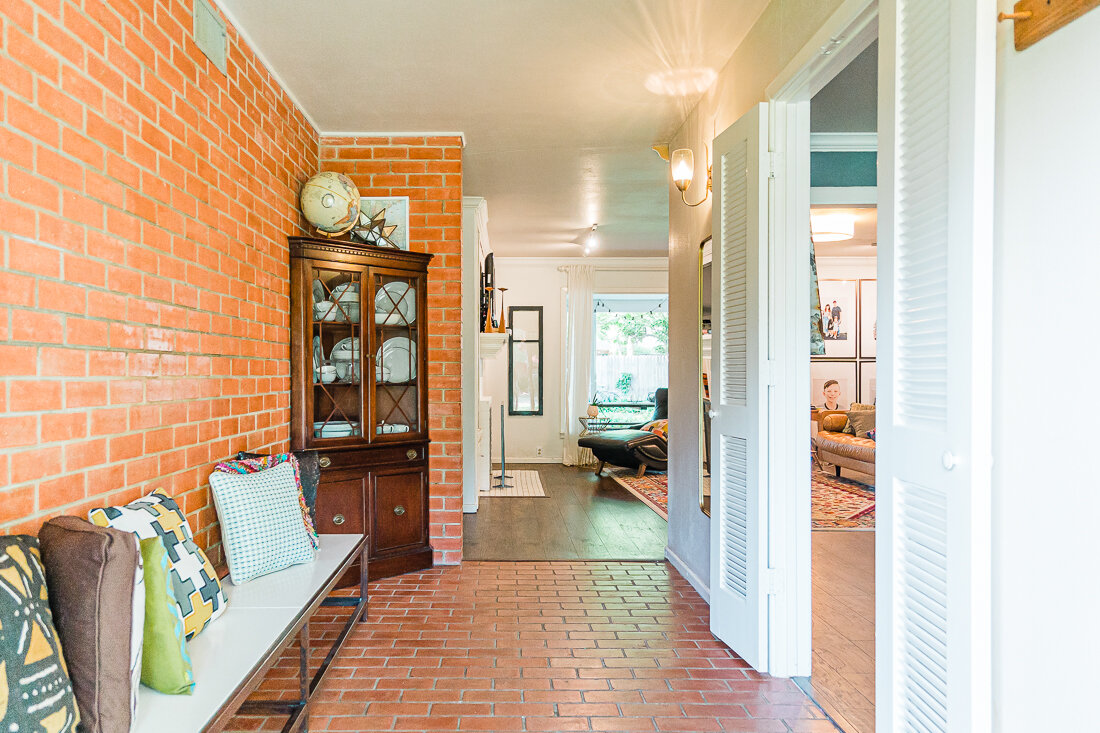
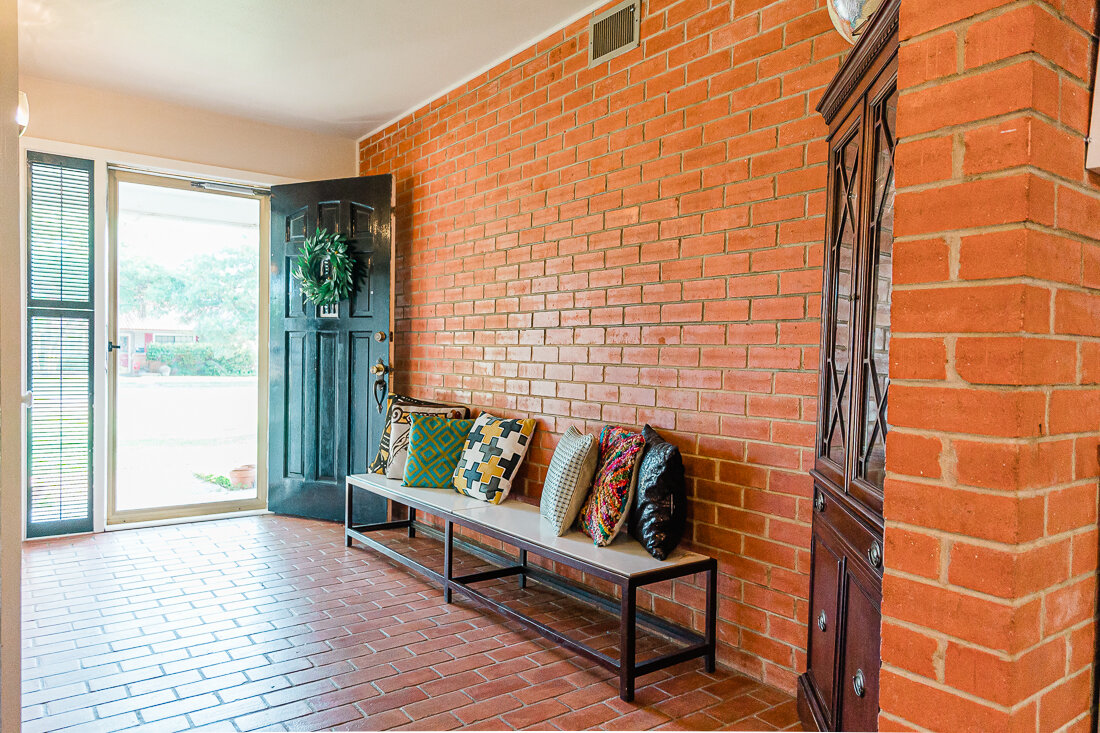
We ended up taking down the map and frames here so that the brick was the focus of our entryway.

We ended up taking down the map and frames here so that the brick was the focus of our entryway.

1. We MAJORLY de-cluttered. I went through every junk drawer, closet, craft room, etc. Marie Kondo style. I kept a trash bag and a box for garage sale items nearby, and tried to conquer one or two spaces a day. Garage sale items went into the garage, and trash went to the bin.

Much of what we removed were kids’ toys. I knew we’d never be able to keep our house clean with lots of toys available to our kids (haha), so we put pretty much everything (including the girls’ large dollhouse) in a storage unit.

We also removed quite a few pieces of furniture in order to open up our main living area and make it more walkable for people viewing it during a showing. Furniture also went into storage.

Another area we almost forgot about was the backyard. All the kid stuff (except the trampoline) was removed. I swear, we found about 47 Barbie shoes hidden in the plants. 😂

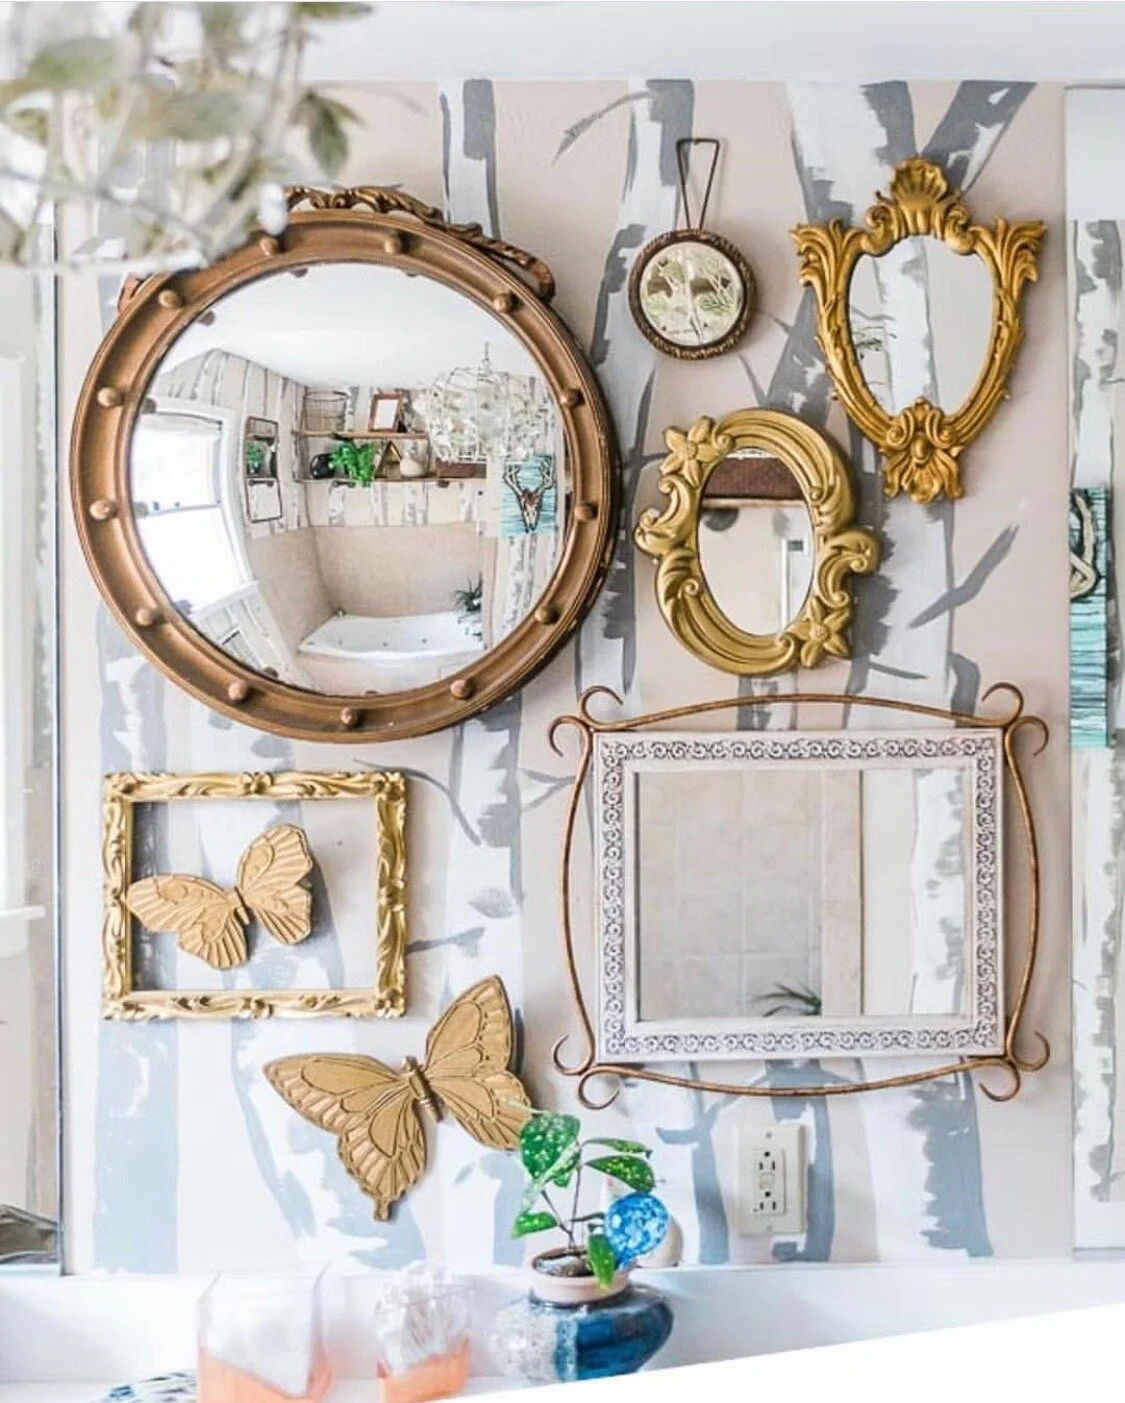
You can see the trees in our master bathroom in this old photo. I pondered removing the mirrors as well, but ended up leaving them for staging.

You can see the trees in our master bathroom in this old photo. I pondered removing the mirrors as well, but ended up leaving them for staging.

2. We took down/painted over super-specific design choices. This was a little heartbreaking to me, as I had spent many hours designing Knox’s constellation bedroom. His room had a large, dark mural on one wall that just had to go- it was much too specific of a design to appeal to a large group of buyers, AND I didn’t want to deter anyone that wasn’t willing to take it down themselves. Thankfully, my mom came over and lovingly helped me scrape all day to get the wallpaper off- not a fun job for sure.

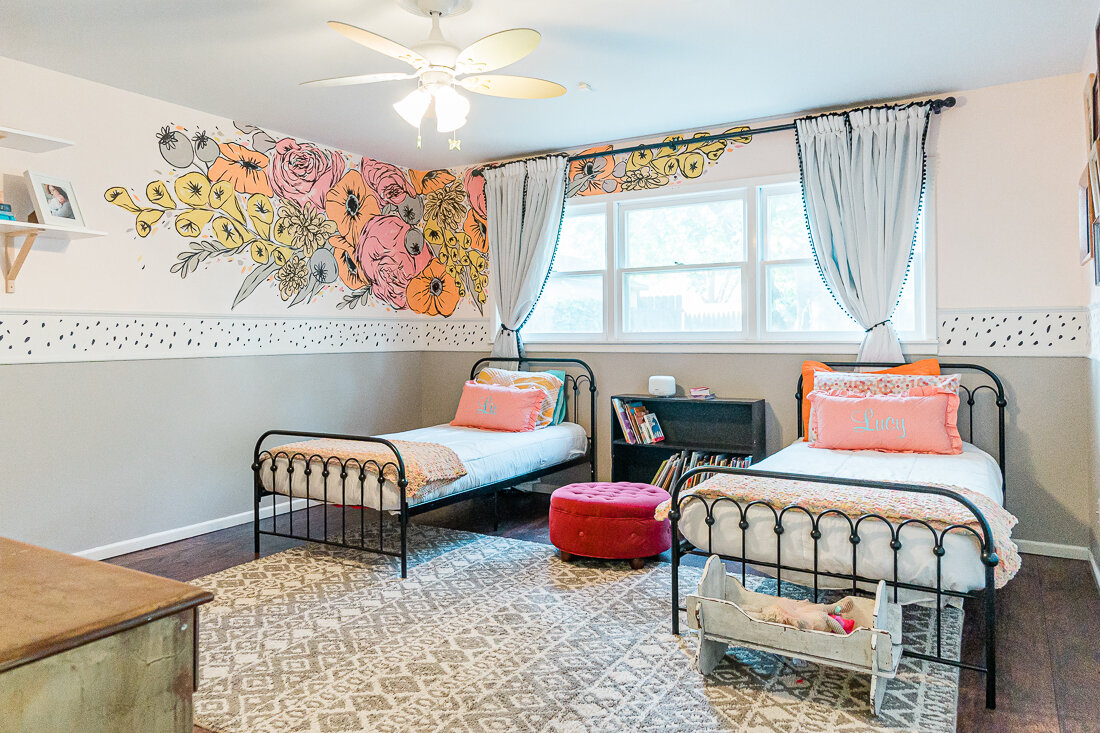
I also had a tree design painted in our master bathroom, which I loved, but wasn’t sure many others would. I chose a neutral grey and it made the space really calm and open feeling. We did leave the girls’ floral bedroom mural in hopes that whomever bought the home might have a little girl, or just like it and want to keep it.

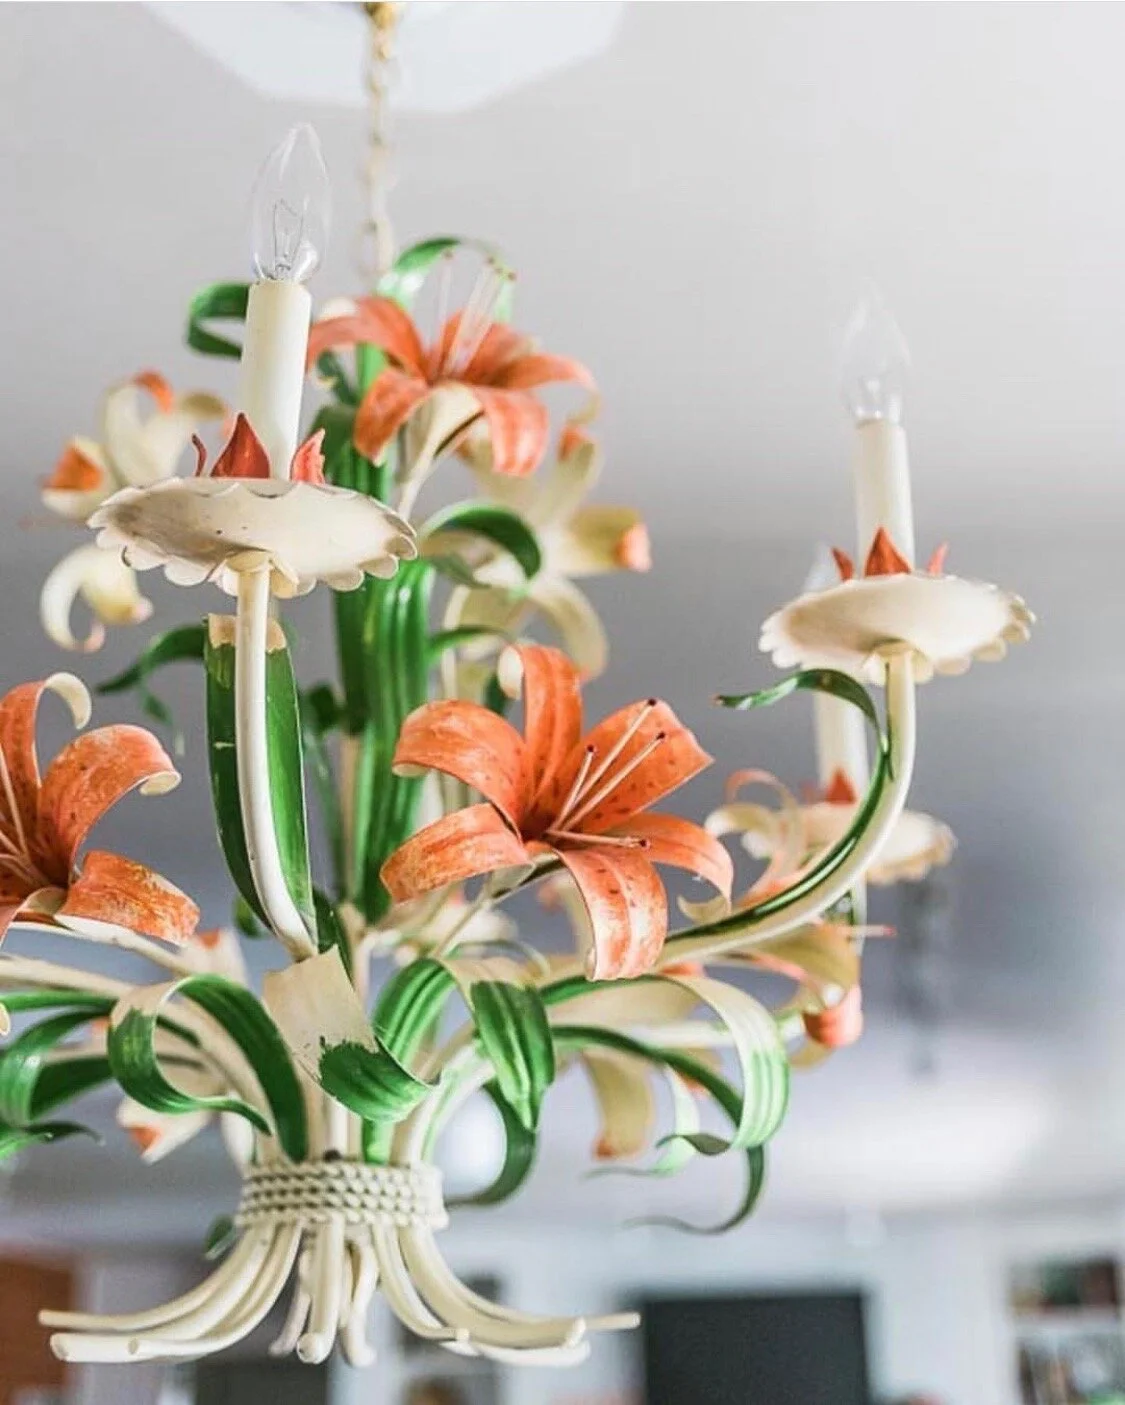
My favorite 60’s toile chandelier has been in our home since I stole it from my parent’s house, haha.

My favorite 60’s toile chandelier has been in our home since I stole it from my parent’s house, haha.

3. We removed fixtures we wanted to keep. We replaced a few light fixtures (like my favorite tole chandelier) with simple neutral ones that would appeal to most buyers.

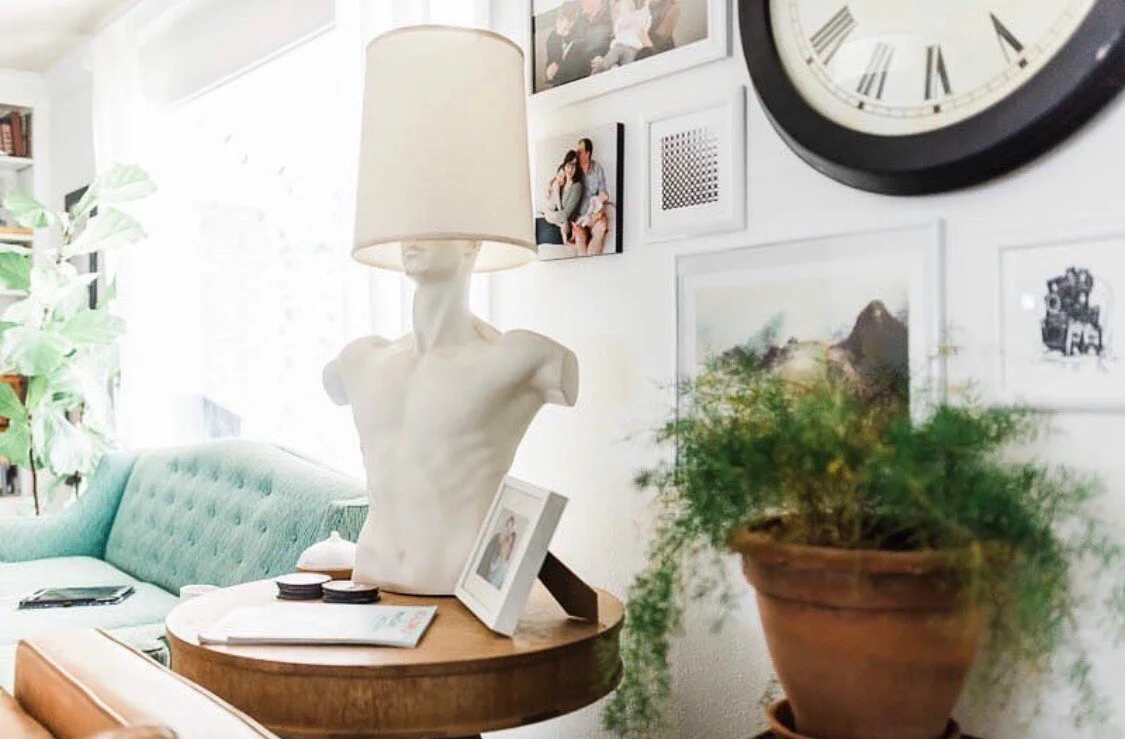
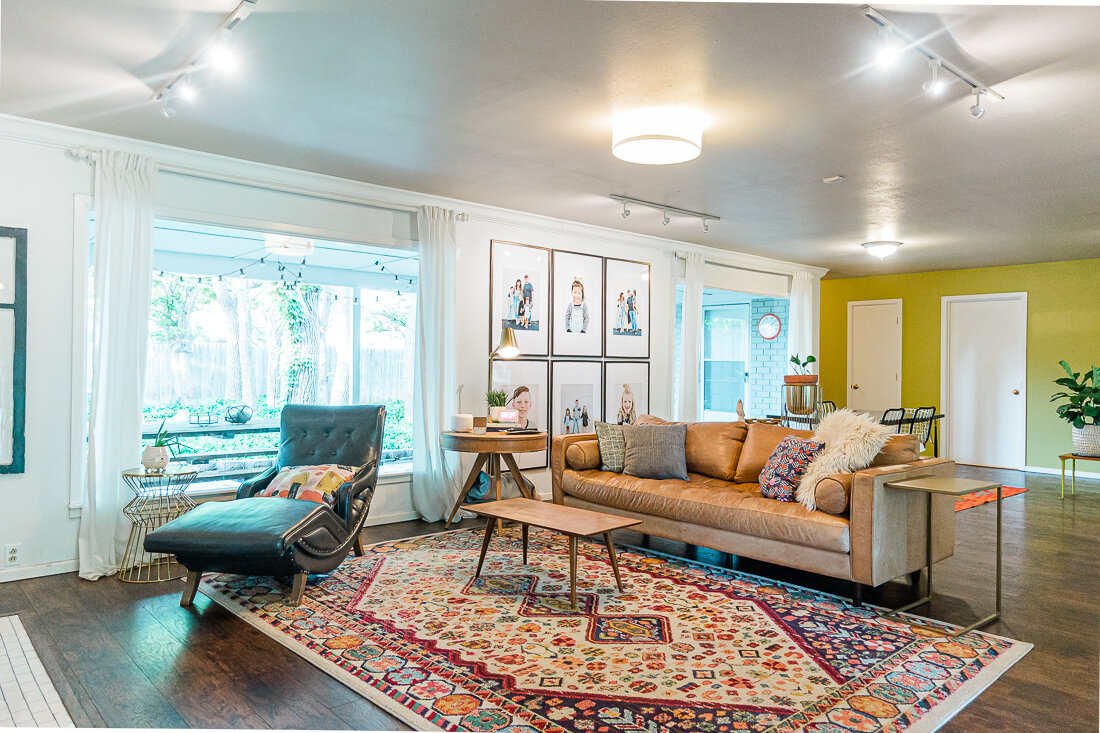
4. We removed quite a few personal family photos, and some weird decor items. I guess I have a thing for body part decor? I took all these items to storage as well. We debated on whether or not to leave our family photo gallery wall, and ended up leaving it, hoping that it would help buyers visualize what they could do with the space. If we’d had more time, I would have tried putting some neutral art in the frames in place of our family photos.

“Manny” the lamp was taken to storage. We love him but understand he’s a lot to take in 😂

“Manny” the lamp was taken to storage. We love him but understand he’s a lot to take in 😂

5. We made sure it smelled good. Before and during showings, we had our diffusers running with our favorite smell. It is such a delicious fragrance, leathery, musky, but fresh. Grab some for yourself here. (It’s not in stock at the time I’m publishing this post, but I watch it often and if you follow me on Insta, I’ll let you know when it’s back! Worth the wait for sure!)
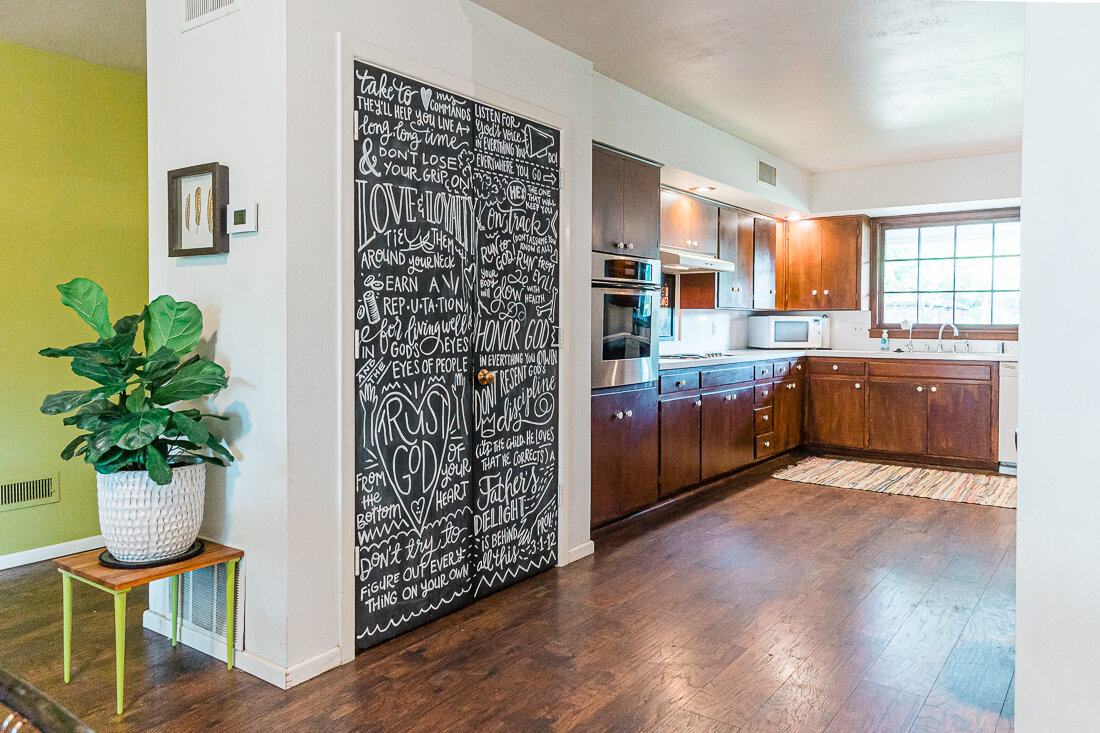
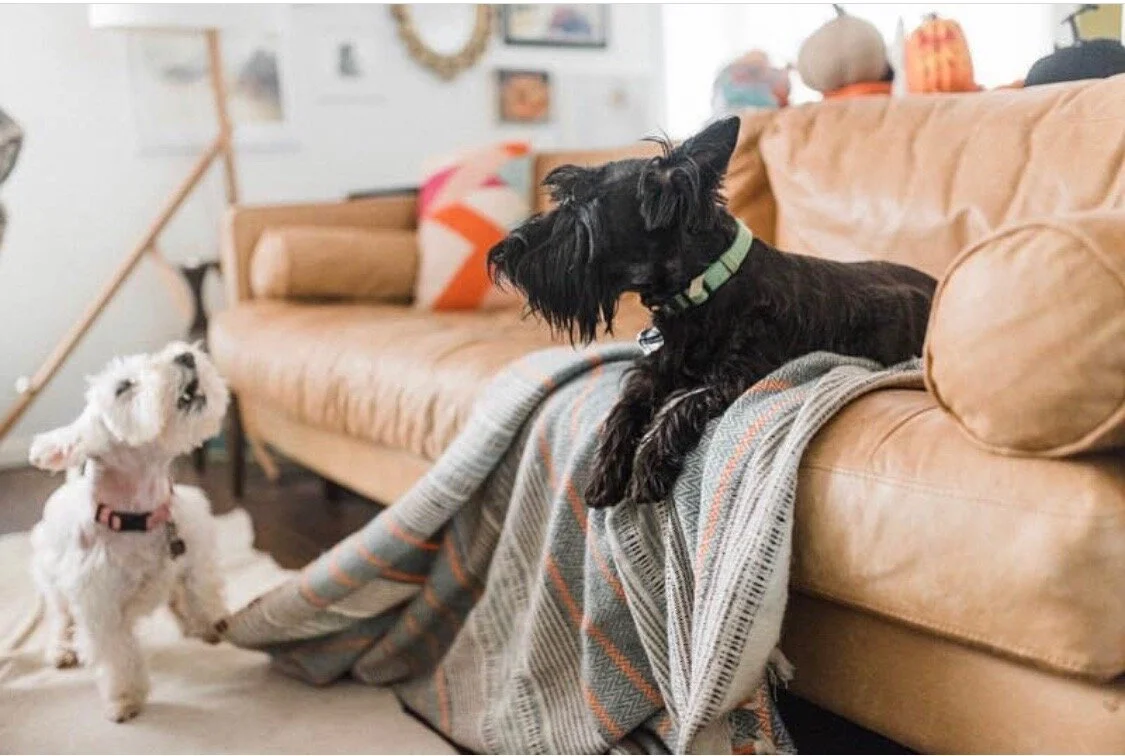
Goodbye pups. We love you but some people just aren’t into animals. :)

Goodbye pups. We love you but some people just aren’t into animals. :)

6. We got rid of any signs of a pet. Dog food, bowls, crate, dog beds and most importantly- the dogs themselves- were gone. Thankfully we were able to bring them to my parent’s house during showings.

7. We did LOTS of touch-up/clean up work. Once everything was clean, we went through and touched up several areas with paint. We also went through the house with a magic eraser- it will clean gunk off of almost any surface! I paid particular attention to anything someone might need to touch, such as doorhandles, light switches, etc.- as these things can really impact the overall impression of the house.

FFDEAE40-19AB-48CD-A9CE-57664DD1E75D.JPG

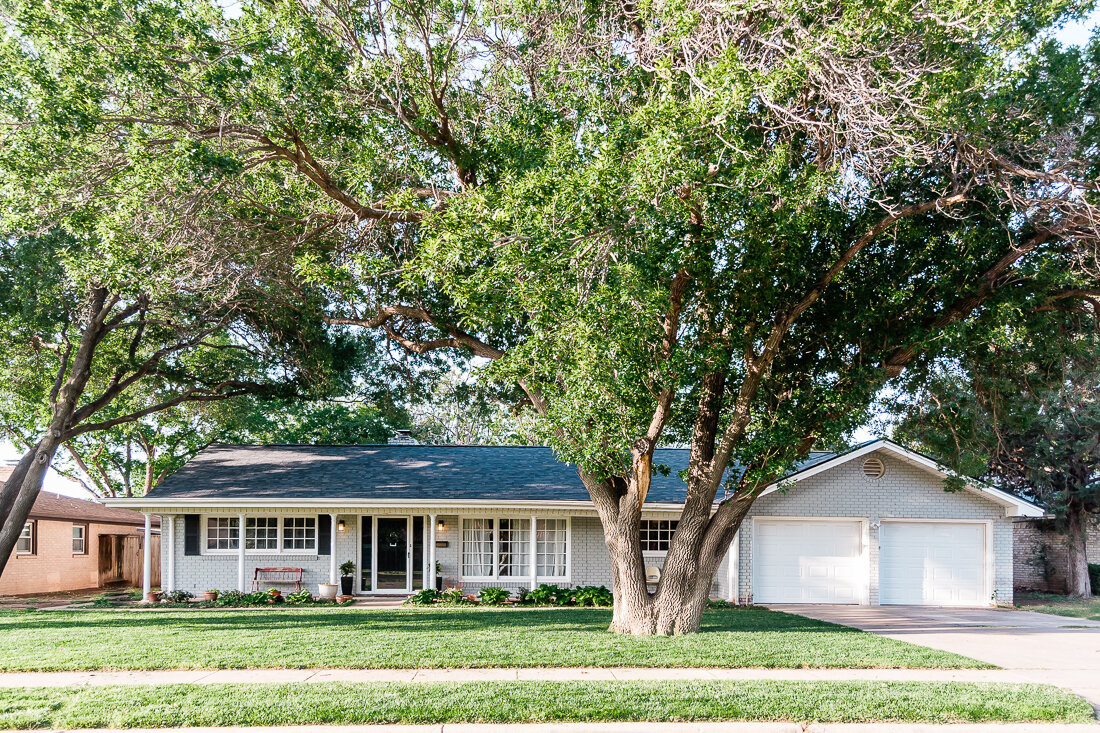
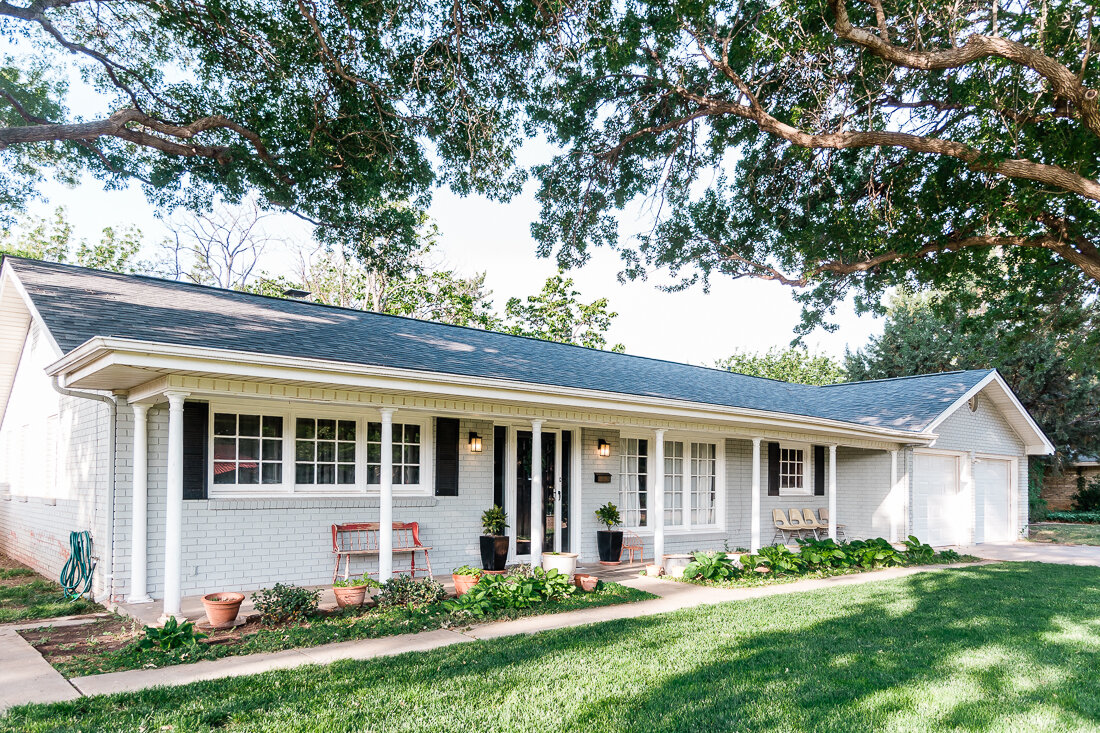
8. We invested in some new front porch decor to make a really great first impression. A new wreath, doormat, and some plants to spruce things up really did the trick. You can check out my wreath and doormat here.
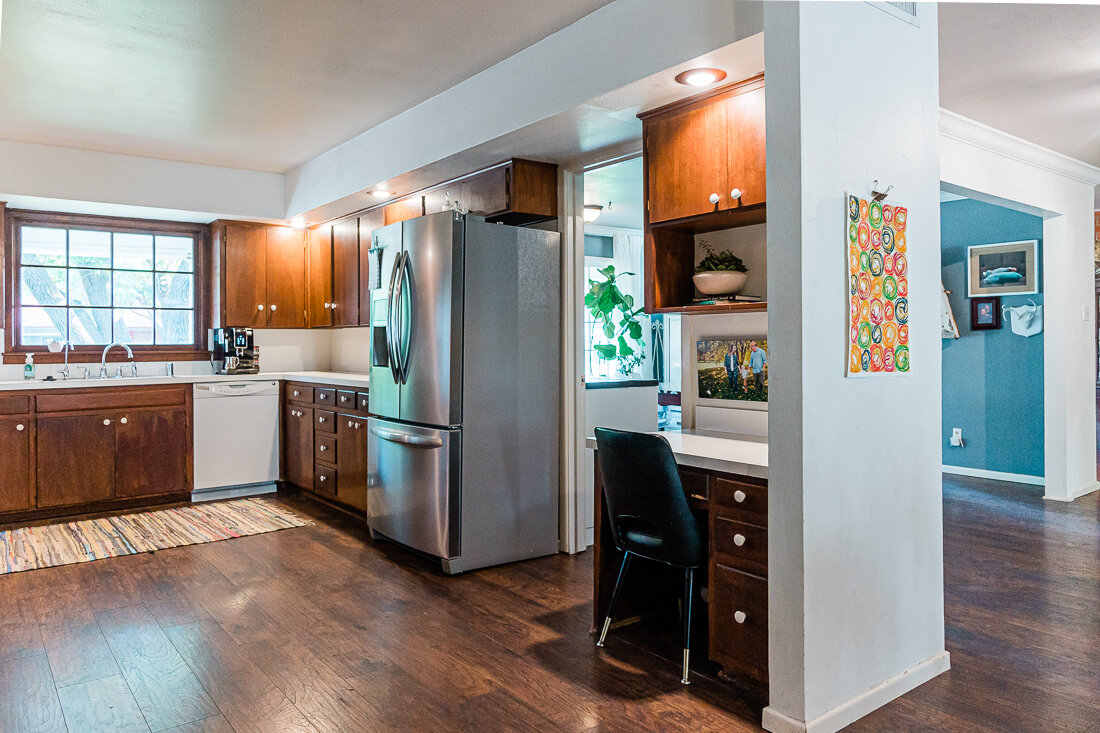
9. We hired someone to help clean. After decluttering and working on getting everything staged, we were exhausted and it was so refreshing to have someone do a deep clean of our home in order to prep for showings. Worth every penny, and we are going to have her back right before we close!

10. We let in the LIGHT. This is a lesson I’ve learned photographing homes for sale. Oftentimes curtains are pulled shut and the natural light a home offers is hidden. We kept all the curtains pulled open, and let in as much light as possible. More light = more space.
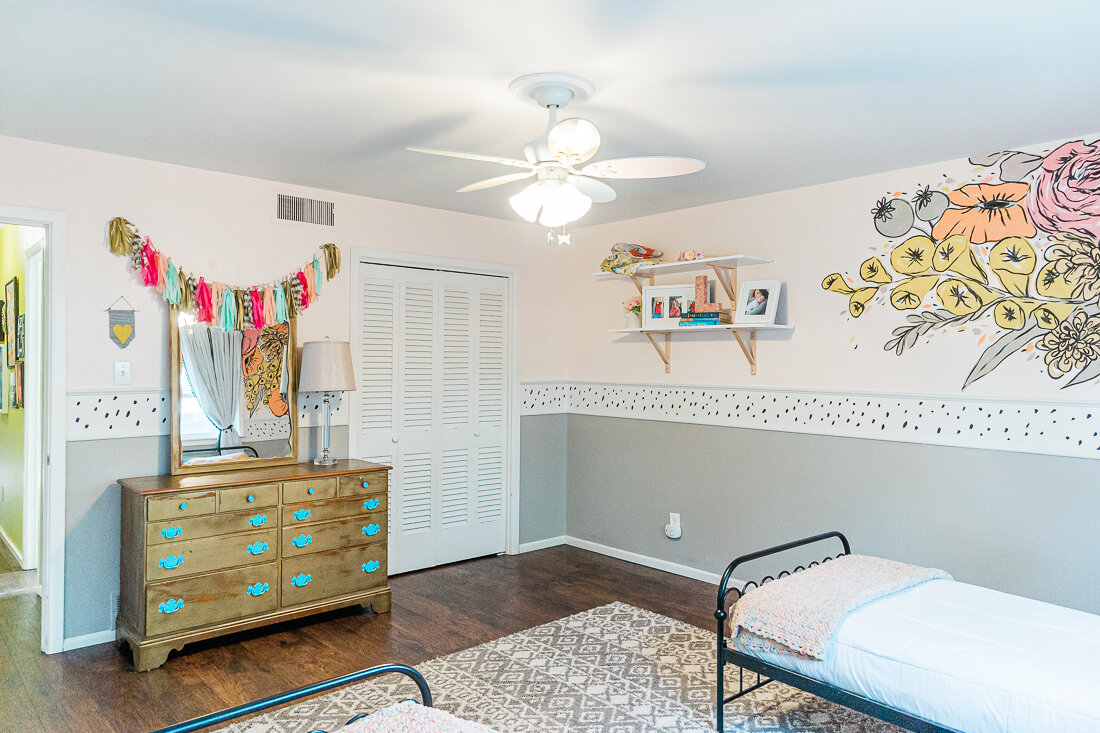
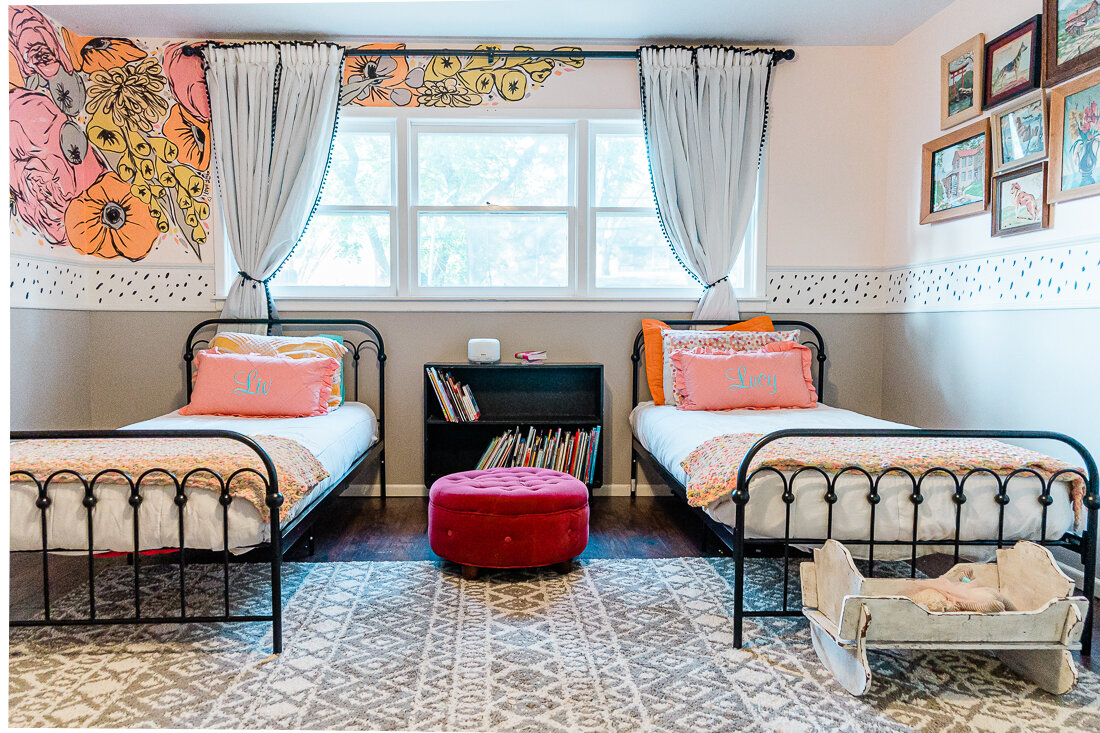

We had about a week to get the house ready- since we’d already set a date for an Open House. Towards the end of the process, Shawn and I went around yelling, “We can’t let them know we SIT!” (If you don’t get reference, watch this video). Honestly, I could have spent another week working on it, but I was really proud of our home once it was all ready- even a little sad that we were leaving it!

We also made sure we had great photos, and thankfully we had some practice in that area, haha. If you are selling your home, I can’t stress enough the importance of having light and bright photos of your home done by a professional. That combined with a stellar Realtor had our home sold in just 3 days on the market. You can check out the listing photos of our home below. I hope this list has been helpful!


knox's constellation bedroom!

HOME, HOME + LIFESTYLElissa-anglin1 Comment

I’ve been promising Knox (our 8 year old son) that I would redo his room for over a year now and have finally, finally finished it. He has been so patient! This room was previously painted a mint green with a mashup of furniture and an overflow of toys. So, we took the opportunity to do an all-out cleanup and make some bolder design choices that would take him from little boy room and still be appropriate for a teenager.

Knox loves Star Wars and science, as well as maps and travel, so I thought this constellation design I created for a Minted wall mural challenge would work really well for his room. Knowing that it was mostly black/dark, I painted the other 3 walls of his room white. I was really impressed with the quality of the new mid-century style bed we bought from Walmart. I love the upholstered headboard and the tapered legs.

2019-03-17_0001.jpg

LINKS:

RUG // NEON LETTERS // BEDDING // BED // CURTAINS // DESK (Similar, this one is vintage)

I’ve had a red mid-century desk for many years I couldn’t bear to part with, and it worked really well in this room. The wire Knoll Bertoia Chair was a $5 garage sale find (which is crazy- these retail for $832 new- no kidding!). Knox got the projector clock for Christmas. Above his desk are his life verse framed, a letterboard with a gold frame, and a map.

2019-03-17_0005.jpg

LINKS:

FLOOR LAMP (Similar, this one is vintage) // MAP // WIRE CHAIR // CLOCK // LETTERBOARD

A fun new edition is this pushpin map I got custom made from Paperrama. I thought it would be neat for Knox to get to pin the places he’s been in the world, and dream of where he’d like to go! This is a canvas print, but it has a hard backing that allows you to put in the pushpins. They were super quick about the customization and changed the colors to match his room, as well as added 1 Timothy 6:12: “Fight the good fight of the faith. Take hold of the eternal life to which you were called when you made your good confession in the presence of many witnesses.”

2019-03-17_0002.jpg

LINKS:

PUSHPIN MAP // PROJECTOR CLOCK

I like to keep an eclectic feel to our house and don’t like all the furniture to match, so I pulled in a wood side table with hairpin legs I already had and a wire Bertoia diamond chair (another crazy Craigslist find!).

2019-03-17_0003.jpg

LINKS:

WIRE DIAMOND CHAIR (similar, this one is vintage) // SIDE TABLE // GOLD LAMP (Similar)

Once we got the bed in place, I knew I still wanted to put some focal point above his bed. I found these “neon” letters on Amazon (link below) and Knox thought they were super cool. They are really LED lights and are lightweight so they are easily hung. They do have wires that extend from them for the battery or USB plugin, but I found a USB connector that allowed me to connect all 5 letters to a hub so we can plug them into an outlet and not use up a ton of batteries.

We chose the word BRAVE because this is Knox’s focus word. This post explains what a prayer word is and why it is so special to us and him!

2019-03-17_0004.jpg

LINKS:

NEON LETTERS // USB HUB (GET THIS if you are getting the neon letters!)

The ceiling fan was a much-needed and simple update, and I still think I might take the whole thing down at some point and paint it all black, but it was nice to get rid of the frilly lamp cages, and replace them with these industrial ones I found. A quick $20 fix!

2019-03-22_0001.jpg

LINKS:

INDUSTRIAL LAMP CAGES

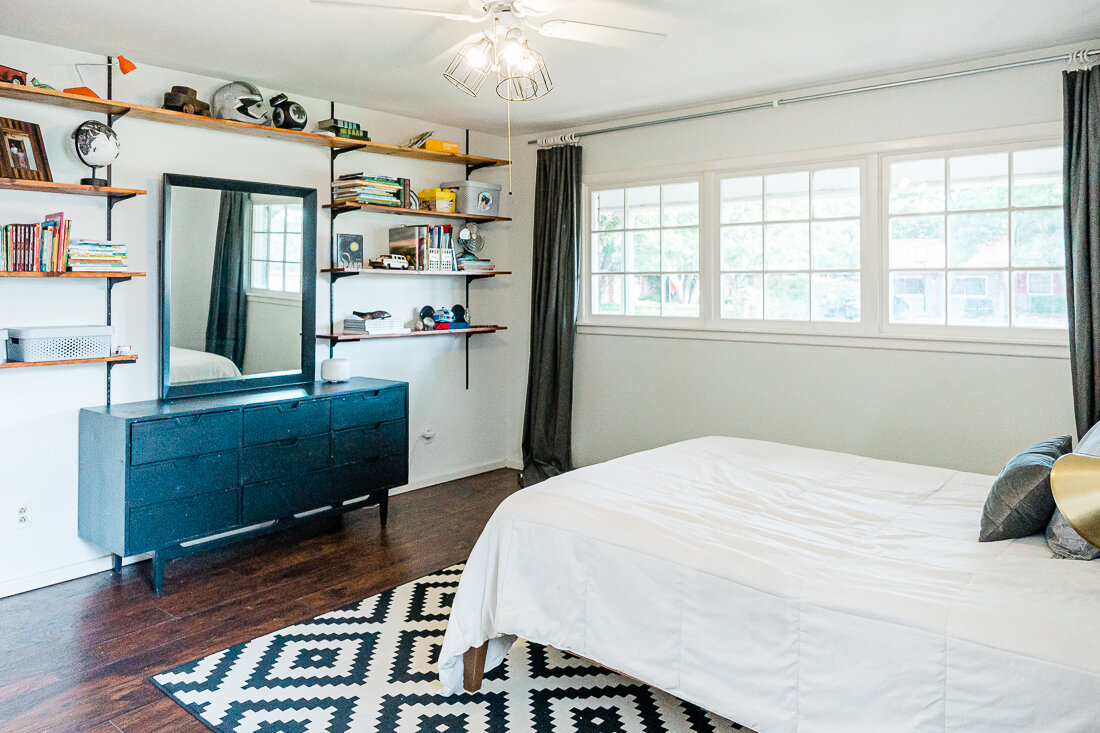
Knox’s old bed had storage in the bottom, so I knew when we got rid of it, we would need another storage solution. My mom (who is a pro estate-saler) found this mid-century dresser for him quite a while ago, and so I dreamed up some shelving to go around it. Thankfully, Shawn was up for the job!

It was a fairly easy D.I.Y.- we followed the outline of this tutorial. I did have to search all over town to find bracketing that was already painted black, and I’m so glad I did! After checking Lowes and Home Depot, it was True Value that had it. It was 1/2 the price of the white and grey versions I had seen AND I didn’t have to spray paint it. We bought the wood at Lowe’s and stained it, and then just put it together. I think the whole shelf project was around $200.

Another big project was getting all of Knox’s toys organized and contained into the storage boxes you see on the shelves. I basically sat everything out on his bed and said, “everything needs to fit in these 4 boxes, and if it doesn’t, it’s being donated”- which actually worked! We did use an old cube bookshelf you can see on the floor next to the dresser for some stuffed animals/robots, but everything else is contained on the shelving!

2019-03-17_0007.jpg

LINKS:

BLACK BRACKETS // BLACK SHELF TRACK // GREY STORAGE BOXES- LARGE // CUBE BOOKSHELF // DRESSER (Similar, this one is vintage) // BLACK AND WHITE GLOBE // INDUSTRIAL FAN (Similar, this one is vintage)

One solution I was particularly proud of was the use of these magazine files for softcover books. Since the books couldn’t stand up on their own, and I didn’t want to stack them on top of each other, this was a great solution. I found these cute gold ones and thought they were perfect!

2019-03-17_0010.jpg

LINKS:

GOLD MAGAZINE FILES // POTTED FAUX PLANTER (I found this one at HomeGoods)

2019-03-17_0006.jpg

LINKS:

AGATE BOOKENDS // DIFFUSER // GLOBE (Similar, this one is vintage) // DARTH VADER HELMET // STORAGE BOXES

I love the way his room looks as it gets darker outside. The letters glow and the constellations seem to as well. I typically like light-and-bright but this dark-ish room makes me just as happy, and I really feel like Knox will be able to use this room for many years.

2019-03-17_0009.jpg

Let’s talk about the wall mural!

I created the wall mural using engineering prints, which you can get at local print shops like FedEx Office, Staples or Office Depot. This is the 3rd or 4th time I have used this technique, and so I decided to film the process and make it a Skillshare class! So, if you have a Skillshare account, you can go watch and learn- or use this link to get 2 months for free- which is more than enough time to watch the whole class.

You can easily check out all of the products I’ve linked here:

PIN IT!

blackwhiteboysroominsop.png